From Idea to Printed Object: A Practical Guide to Creating Custom 3D Prints with AI
Over the past few years, making anything from scratch required that you learn complicated CAD software or spend hundreds of hours mastering tools like Blender, Maya, or ZBrush. While those tools are useful for certain projects, they can be overkill for hobbyists looking to create a custom tabletop miniature, a replacement part for a broken appliance, or a one-of-a-kind gift.
AI changes the equation completely. Instead of staring at a blank screen, you can describe your idea in plain language, create a simple doodle, or use a reference photo. The AI does all the heavy lifting and creates a workable 3D model that you can tweak and 3D print in a fraction of the time.
One of the companies powering the momentum behind it is Meshy AI. Incubated from zero to one in Silicon Valley in 2023, it is now one of the largest 3D generation platforms, growing with more than 10 million users and 100 million 3D models. But what is most interesting for the users is not the big numbers, but the increasingly short distance from an idea to a printable object.
So if you are making cosplay accessories, game props, educational models, toy figures, or some wicked jigs for your workshop, this is a quick guide to the modern workflow with AI-driven design software and 3D printers.
For most tinkerers, printing is the easy part. Printing is the fun part. Printing only takes a few minutes. Anyone who’s played around with 3D modeling software in the last ten years knows: that’s the least part of the process. For the most part is having to make the entire model in the first place.
Most 3D modeling platforms think like an engineer. The edge loops, the polygons, the surfaces have to be built up piece by piece before “designing” what it’s going to look like can properly begin. This can be fun, of course, but it also makes the barrier to entry that much steeper for someone new to the game who just wants to bring their idea to life.
Meshy gets around this in style with its Text to 3D function.
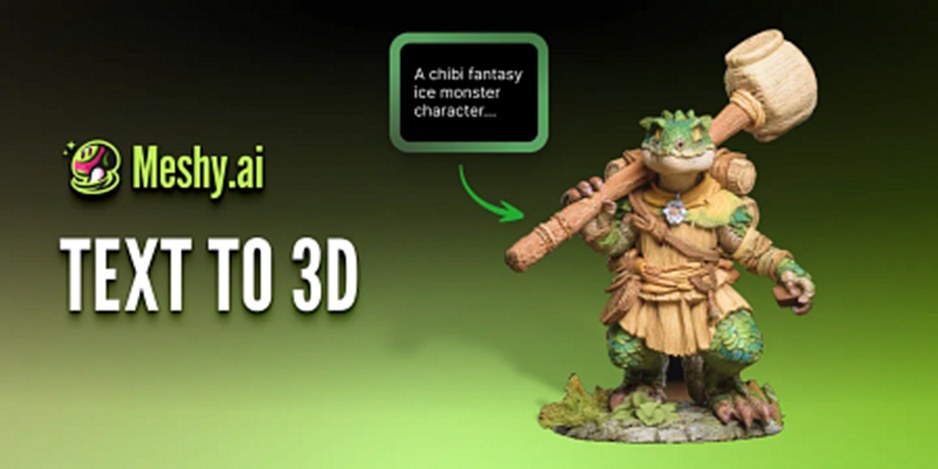
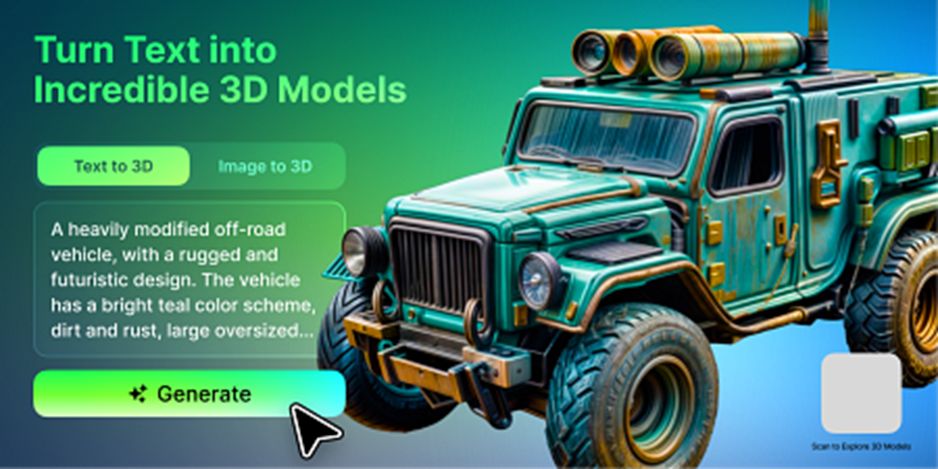
Instead of building one piece of geometry at a time, users describe the thing they’d like to create in natural language. A string like “medieval treasure chest with decorative metal bands and rivet hinges” or “desk organizer for the contemporary sci-fi enthusiast with curved edges” will turn into a textured 3D model in less than a minute.
The output will rarely be the final version… and indeed it shouldn’t be. Think of it as the digital analogue of a maquette. It’s more than enough to get a sense of where you’re going, and it’s much easier to move from rough form to finished product in small steps than for a creator to sink 2 hours just to get a passable general shape.
For experienced makers, this means iterating faster. For newcomers, it’s a critical part of removing what is probably the biggest technical barrier to trying it in the first place.
Not every project starts with a document, after all. A lot of artists have some form of concept art, a sketch, or a photo of an object that communicates exactly the nature and shape of the project they want to build.
That is where Image to 3D comes into play.
After you upload the image, the system will first interpret shapes and proportions and then output a 3D model with textures. A pencil drawing of a fantasy weapon can be turned into a prop that you can print out. A sketch of a figurine can become a collectible physical object. Even a photo of a handmade object can serve as a reference point during reverse engineering and editing of a previous object.
The benefit of this workflow is for creators who are visual thinkers more than verbal ones. Instead of explaining a concept in discrete terms, then having to translate those into by-the-book prompts, they can let the image speak to what the subject is by focusing on what matters, which is a refinement in the subject, instead of a recreation.
If you’re a seller of digital files or 3D prints, then a faster speed of concept modeling is equivalent to servicing requests faster. And you lower the generative time of unit tests for new physical products, usually a multiple-day-long process to create units.
Creating a model is just the beginning of the design process.
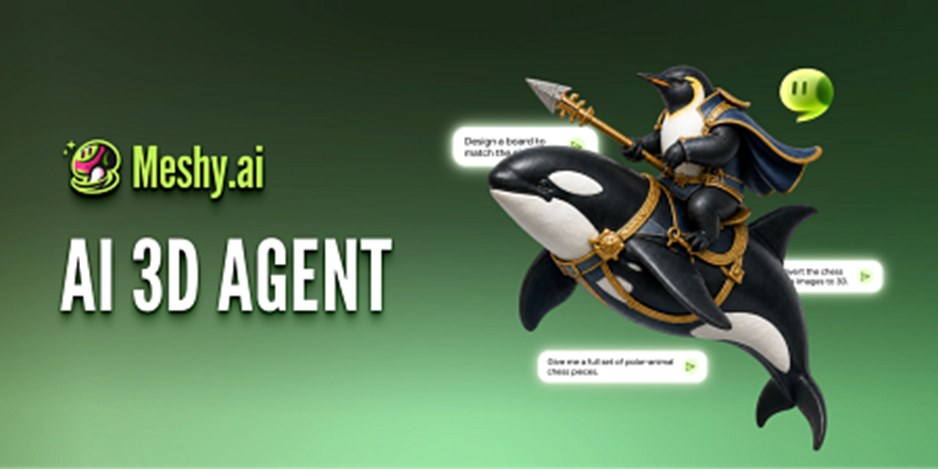
Additionally, the absolute most remarkable addition to Meshy’s platform is its 3D Agent that takes a conversational approach to 3D model design. Rather than rephrasing prompts over and over whenever something needs to change, users develop a dialogue with the model as they would with a design partner.
The artist can ask for thicker walls for sturdier prints, sharper details for a model to its armor, simplified pieces to make it easier to paint, or brainstorm several possibilities before committing to one. More is added to the conversation as work is done, avoiding some of the trial and error often associated with prompt-based generation.
This conversational workflow also makes the whole experience less intimidating. Because feedback can be given through a conversation, creators are more likely to try new styles, proportions, and design options, without feeling pressed to commit all-in in the first minutes.
All of this gives the experience a more organic, creative, and iterative feel, while still saving busy people valuable time.
Looking good isn’t always enough to prepare an AI-generated model for 3D printing.
Like any 3D object, many generated shapes and styles need to be prepared for import and slicing. Material density calibration, mesh flow, and surface conditions are just a few factors that can make a print easier or harder to review and clean up after printing.
Meshy’s remeshing and retopology features allow modelers to quickly camp topology to best suit the intended use of a given print, or prepare a mesh for further modeling or UV mapping. This means users do not have to plunge into the often confusing details of mesh editing in software like Blender before export, but instead camp their mesh for final export, simplifying and greatly reducing post-production editing.
The platform also provides the option to save your design as an STL or 3MF file, two of the most widely used file formats in the desktop 3D printing ecosystem.
While STL remains the culture standard for many makers due to compatibility with practically any slicer, 3MF files have been gaining ground for their ability to store additional project settings, making the transition between modeling and slicing applications smoother.
Ultimately, the best choice for export will depend on the printer, slicer, and complexity of the design, but making both options available allows makers to export the file that best aligns with their needs.
At this point, the design has become something more than a general idea. It is now a 3D printable digital asset suitable for slicing, support generation, and fabrication, counting down the moments until the concept becomes a reality.
At this point, if you’ve exported a model before, the process from here on out is pretty standard. Load the file into your favorite slicer, orient the print, add supports as needed, set the layer height and infill settings, then hit print and watch as your print comes to life.
This is where exporting a clean mesh is useful. Oftentimes, files with excess geometry or topology issues will need to be fixed in some way before they can be sliced and printed. If you can prepare the mesh properly before you export, then you have fewer problems to worry about later on, like troubleshooting, and more time to print.
Meshy has also put a lot of work into making that phase as frictionless as possible. The tech stack allows for 3MF exports and boasts one-click “Send to Bambu” transfer functionality for Bambu Lab users. Thanks to several rounds of internal testing, Meshy knows that its character and figurine models will be able to pass muster with a Bambu Studio slicer 97% of the time. Creators can create with confidence knowing that they’ll be able to move from design to production without too many hiccups.
The target isn’t compelling models. It’s compelling-to-print models. It isn’t about adding extra complexity to the process; it’s about removing it.
The gap between AI-driven design tools and standard desktop 3D printers is certainly shrinking. Rather than envisioning the design and the manufacturing process as two standalone processes, hardware companies are increasingly leveraging AI capabilities in their content creation environments.
FlashForge has recently embedded Meshy directly into its Flash Studio software as an example. This means that users can essentially both create the model, slice the model, and instruct the physical machine to print the part in the same application. There is also an automatic texture-to-filament color association that attempts to keep a 3D print as close to a full color swatch as possible and reduces manual setup.
Resin 3D printing professionals can take advantage of the Formlabs integration, too. The Form Now service will let AI-created models be dispatched directly to Formlabs’ professional SLA and SLS industrial-grade printers. It further helps to deliver on the promise that AI-created models can more quickly and easily transition into high-quality manufacture, without the need to invest in a professional printer.
Meshy’s API is also making it possible for whole new kinds of creative experiences. This includes the rise of artisan maker hardware beyond the home desktop sector. xTool and Snapmaker, for example, are using the platform to build new kinds of smart-tech AI-assisted maker tools to help provide the best possible end-to-end creative experience. There is a whole new wave of AI-making experiences beyond the home desktop 3D Printer, PhotoShop aesthetic of the PC culture, all developing quickly using Meshy tools.
If you are still learning the basics of 3D modeling, you may not own a printer. If you only plan to create a few models a year, 3D Printers aren’t practical because each design can only be made in one location.
Creative Lab solves this by completing the loop. Future versions will let you see the item on a digital turntable, and once done, order the pro manufacturing of the physical object. Meshy assists with 3D models that get printed as key chains, badges, small sculptural items, and even more, then shipped out for you. Marketiger partnered with Meshy to handle all manufacturing and shipping requests.
For beginners, that’s one more learning curve leveled. One could now begin to use AI-powered design, try out different things, and have a tangible final product in their hands without any expenses for hardware, calibration adjustment, and print materials.
And for artists and buyers, this could be an easy approach to try out a few product ideas with zero commitment before deciding to buy their own making equipment.
Most modelers, especially as they start taking on bigger projects, end up doing more than just 3D modeling and become crafters, use their creations as the basis of an online shop, a side hustle, or end up growing a studio where they do custom work for commission.
For the bigger gigs, Meshy has Workspace 3.0. It’s a team and professional creator-focused production environment that enables users to manage projects rather than files. Nodes represent projects and have separate workflows for modeling, animation, print prep, and asset management, while being unified in the library.
Production-grade API access also means studios can slot AI-enabled asset generation into larger pipelines. With Meshy, creators don’t have to choose between variety and consistency.
Even if most non-enterprise users won’t need all the capabilities behind the curtain, it’s nice to know they’re there if and when your projects grow into something big.
The value of any creative tool is what people make with it in the end, and the Meshy user community is a testament to how far-reaching those possible applications are.
Former AA studio tools programmer turned solo developer Jlemarchand uses Meshy to create characters for his point-and-click adventure game, Navy Island Confidential. He’s able to keep a creative vision over the art without spending days and weeks working solely on assets, and can therefore move through development faster.
Another solo developer, EvilKris, is using 3D Agent while creating monsters for his horror game, Famished. He doesn’t need to rebuild the assets over again for every single variation; instead, he can just consult the 3D Agent and decide on the best monster, which he can then use in the game.
Creator cyber_fox has increased productivity the most. While before using Meshy, he would spend approximately 300 hours in Blender for a task, Meshy helps him increase the speed and model a bit less than 5 minutes per iteration per model. These assets have been used in an English learning app. It’s cool to see that AI models find valid use cases outside of gaming and entertainment.
At VITA School, Teacher Noel decided to test Meshy in the 8th-grade game design class, where 100% of the students were technically beginners, and all the students were able to make Roblox-ready assets in one single class. At the end of the lessons, 85% of the students said they found the platform easier to use than they thought, once again proving that AI would make 3D creation accessible to beginners and the next generation of 3D creators.
Positive spill-over effects of a platform can also be felt in the area of cultural heritage. Annie, an R&D Director for the “Colorful Weaving Threads” interactive exhibit project, created content for exhibits by using Meshy to make digital assets. With her team, she never had to spend several days manually modeling a single piece of content anymore. Instead, she was able to spend more time on customer engagement as they could free their time from monotonous production tasks.
By the same token, the maker community has also begun to use AI for physical projects. Chad Hunter, for example, used Meshy and was able to complete complex 10-inch tabletop RPG dioramas in less than a day. He didn’t have to spend time picking up a pointlessly complex bespoke 3D modeling tool. Previously, becoming proficient with professional 3D modeling software would have taken weeks or months. Instead of having to hone an entirely separate skill set before they can get started on a given aspect of a piece, a user can now choose how much energy they would like to spend on meshing out an idea and then decide, from the get-go, whether or not that is the part of the idea that they want to carry out.
When these examples are accumulated, it becomes clear that AI and 3D are no longer limited to a single user class. Independent developers, educators, exhibition and hobbyist designers, and even the maker community are innovating to shorten production times without violating the creative process.
Desktop 3D printing has always been an exercise in experimentation. Any new filament, nozzle, printer upgrade, or slicing approach raises the question of what you might be able to create by trying new things. Now AI can help make the design itself part of that same creative process and give you a faster, more approachable way to experiment wildly and try again.
This doesn’t replace the many applications where direct modeling is useful; what AI can do is help give makers an additional process to more fully realize their designs, instead of doing everything the hard way.
Build a professional consulting or corporate website with Alexi. Modern design, responsive layouts, and flexible customization—perfect for business, agency, and service websites.
